


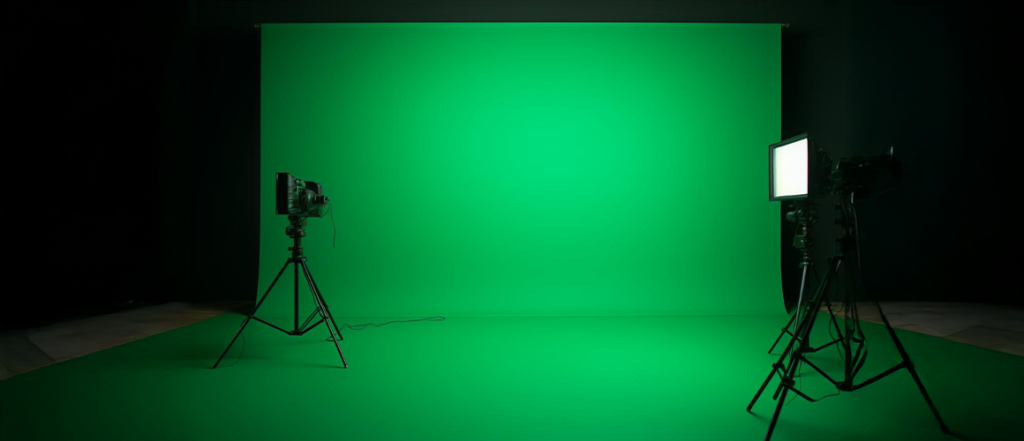
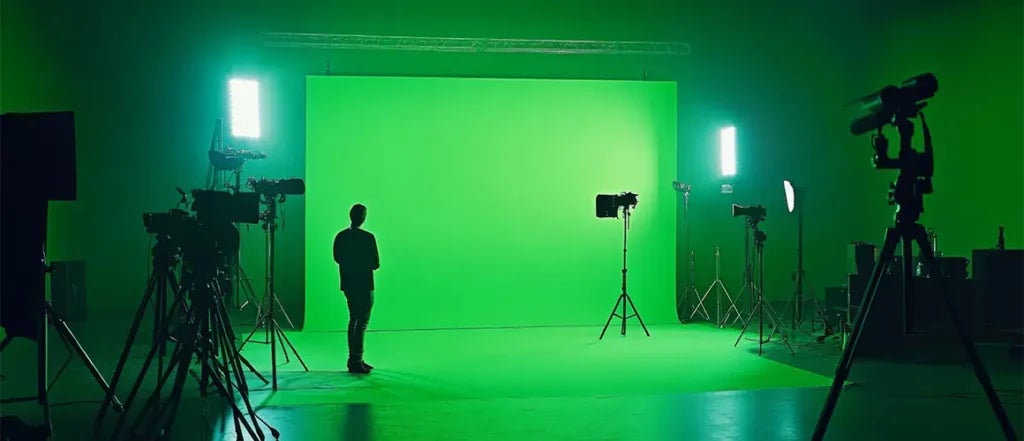
Ever noticed how movie characters seem to perform in far-off worlds or futuristic cityscapes? Or how weather reporters appear in front of moving maps? The secret behind this is the green screen. A green screen is a solid green backdrop that lets editors take out the background and insert a different scene. It is widely used for films, online videos, and virtual presentations.
After removing the green background, editors can insert scenes, graphics, or settings that weren’t actually present during filming. It changes standard recordings into scenes that appear richer and more natural. From home creators to big studios, green screens are now part of everyday video making.
In this blog, we explain what green screens are, how they work, and why they are important for visual content.
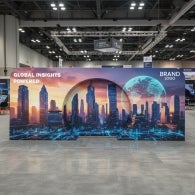
Popular Products


What is a Green Screen?
A green screen is a plain background finished in a vivid green color. This surface, often called a green screen backdrop, helps editors work with a consistent background for both video and photo projects. The main purpose of this green background is to make it easy for software to identify and remove it later.
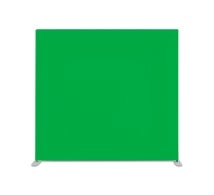
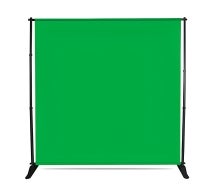
Green screens can be created using fabric, vinyl sheets, or painted walls. Adjustable green screen backgrounds in some setups make it easy to alter the height or width for different scenes. What matters most is that the surface stays smooth, evenly lit, and free from shadows. This uniform look helps editors separate the subject clearly and place them into a new scene without rough edges or missing details.
Why is the Color Green Used?
Green works well because cameras and editing tools can detect it quickly. As it is uncommon in skin tones, it helps keep the subject intact during editing. Most cameras also capture green with greater detail.
Green is also preferred because it responds well to lighting. It reflects light evenly, reducing the chances of uneven shades on screen. By using a chroma key green screen, professional shoots achieve a consistent green backdrop that improves editing precision and overall workflow.
How Does a Green Screen Work?

The key work of a green screen happens once filming ends and editing begins. This is a step-by-step guide to how a green screen works.
- Recording the Footage: The first step is filming the subject with a green backdrop behind them. It starts with high-quality recording and correct lighting to maintain a consistent green background.
- Importing the Video for Editing: Once filming wraps up, the footage is added to editing software with chroma key features. This program detects the green background to make editing easier.
- Removing the Green Background: The software detects and removes the green background from the footage. This process demonstrates how green screen helps in creating visual effects, making it possible for the subject to appear separately from the original background.
- Adding a New Background: After the green is removed, a new background is placed behind the subject. This makes it look as though the scene was filmed in that location from the start.
- Creating Visual Scenes: This simple editing process makes it possible to create flying superheroes, virtual sets, and animated environments that would be difficult or impossible to film in real life.
What Equipment Do You Need for Green Screen?
Using a green screen does not require complex tools, but the basics matter.
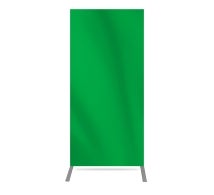
- Green Backdrop: A green backdrop is essential. Some creators prefer a portable green screen banner because it is easy to set up, move, and store. These are useful for small studios or home setups.
- Camera: Lighting is just as important. Even lighting helps avoid shadows and color patches. A camera with clear video quality works best, though many modern phones also do a good job.
- Lights: Support systems like a banner stand help keep the green screen stable and wrinkle-free. Editing software completes the setup, allowing the green background to be removed and replaced smoothly.
- Tripod: Using a tripod keeps the camera steady, helping the green screen look cleaner and easier to edit.
With these simple tools, anyone can start using a green screen to make creative videos.
Tips for Using a Green Screen Successfully
Knowing how to use a green screen correctly can make a big difference in the final result.
- Avoid Wrinkles and Shadows: Make the green surface even and properly lit, because wrinkles or folds can create shadows that make background removal more challenging.
- Keep Enough Distance: Make sure the subject stands a few feet away from the green screen to prevent color spill around the edges.
- Match the Lighting: Make sure the lighting on the new background complements the lighting on the person. If the subject is brightly lit from one side, the background should look similar. This makes the final video look more natural.
- Avoid Wearing Green Clothing: If the person wears green, parts of their clothing might vanish during editing. Choosing a custom backdrop that fits your space can also help keep the setup tidy and organized.
- Use Good Editing Software: Some editing tools make removing the green background and fine-tuning the edges quick and simple. Better tools can help make the final video look more realistic.
Where is Green Screen Used?
Green screens are used across many fields today.
- Movies and TV Shows: In movies and television, they help create imaginary worlds and large scenes. In digital content creation, green screens let creators shoot videos from any location, which is why green screen for video production is so popular.
- Photography: Photographers also rely on green screens. With green screen for photography, backgrounds can be changed later to suit different themes or client needs.
- Weather Forecasts: Weather presenters stand in front of green screens. The weather maps and graphics are added later so it appears they are pointing to different regions.
- Online Videos and Streaming: Green screens allow YouTubers and creators to make interesting videos, such as appearing in animated scenes or on virtual backgrounds.
- Virtual Meetings: Using a green screen webcam backdrop during online meetings and streams helps hide distractions and maintains focus on the speaker.
What Are the Advantages of Using a Green Screen?
- Unlimited Background Choices: One major advantage is flexibility. Green screens let creators choose any background without traveling or building physical sets. This saves time and money while offering more creative control.
- More Control: You can control how the final video looks without being in a specific location. This saves time and cost.
- Better Storytelling: If you want to tell a story with different places or effects, green screen helps make it possible without traveling.
- Works for Many Budgets: Green screens work well for both beginners and professionals. From simple home videos to advanced productions, they fit many budgets and needs. They also allow repeated use of the same setup for different projects, making content creation faster and more efficient.
Conclusion
Green screens have become an important part of modern visual content. They allow people to record simple footage and turn it into something engaging and creative. By removing a green background and replacing it with new visuals, creators can tell better stories and present ideas more clearly. The process is easy to understand and accessible to many skill levels. With the right setup and basic editing knowledge, green screens can be used for videos, photos, and virtual spaces. They continue to shape how visual content is created and shared across different platforms.
Written By BannerBuzz Editorial Team!
 Posted in