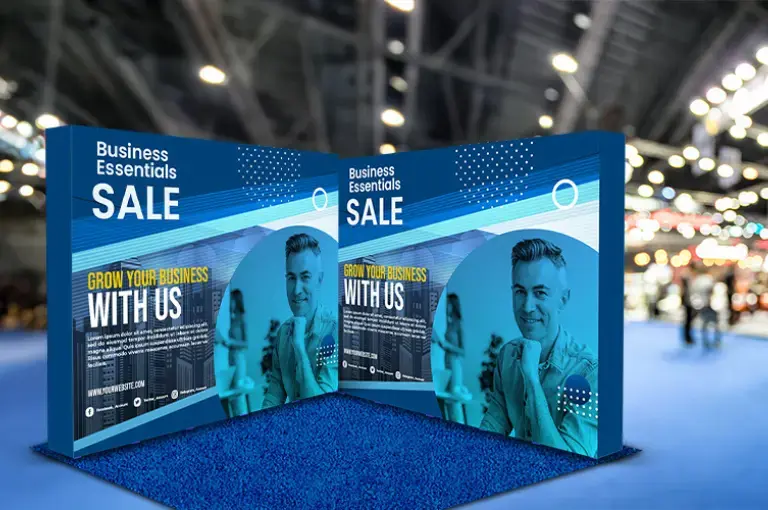


At a trade show, exhibition, or pop-up store, how you present your products can make all the difference. A portable display with shelves helps you keep your booth tidy, professional, and inviting without much effort. Practical and travel-friendly, these shelves go up quickly and help you present samples, brochures, or catalogs in an organized way. The standout feature is the header panel on top, it gives your brand a professional and visible spot at every event. It gives your setup that finished, eye-catching look that grabs attention right away.
If you’ve just bought one or are planning to use it for your next event, setting it up is easier than it looks. You don’t need to be an expert or hire help. This blog shows you how to assemble and install a portable display shelf with a head in a few simple steps.
For more information, check out our YouTube video on How to Install a Portable Display Shelf with a Head
Step 1: Gather Everything You Need
Take a moment before you begin to spread out all the display parts on a clean, even surface and make sure the full set is there. Most kits include the frame, base, shelves, support poles, and the header attachment. The tools needed for display shelf installation are usually very basic, like a screwdriver or Allen key.
Some display models even feature quick-lock or snap-fit systems that let you assemble them without any tools. Make sure all your parts and tools are close at hand before you start. Organizing them neatly in advance ensures that each step of the assembly is simple and uninterrupted.
Step 2: Start with the Frame
With all pieces laid out, refer to the step-by-step guide to assembling a display shelf with head provided in the kit to begin assembly. Most instructions are visual, which makes it simple to understand how each part fits together. Begin with the base, this is what supports the entire display. Fix the poles or supports firmly into the base. Make sure each one locks securely in place. Once the main frame is standing, start attaching the shelves. These usually slide, snap, or screw into the frame. Take your time to make sure each shelf sits level and steady before tightening anything completely.
Step 3: Get It Ready for Your Event
If you’re setting up for a trade show, product launch, or exhibition, convenience is everything. That’s where the easy setup display shelf for exhibitions really proves useful. These shelves are made for people who move from one event to another. They’re lightweight but strong enough to hold promotional material or display products. After you’ve attached the shelves, stand back and check that your unit is balanced. If the display isn’t completely steady, shift the base or poles a little until it feels firm. This design is easy to carry, simple to move, and can be assembled or taken apart in no time.
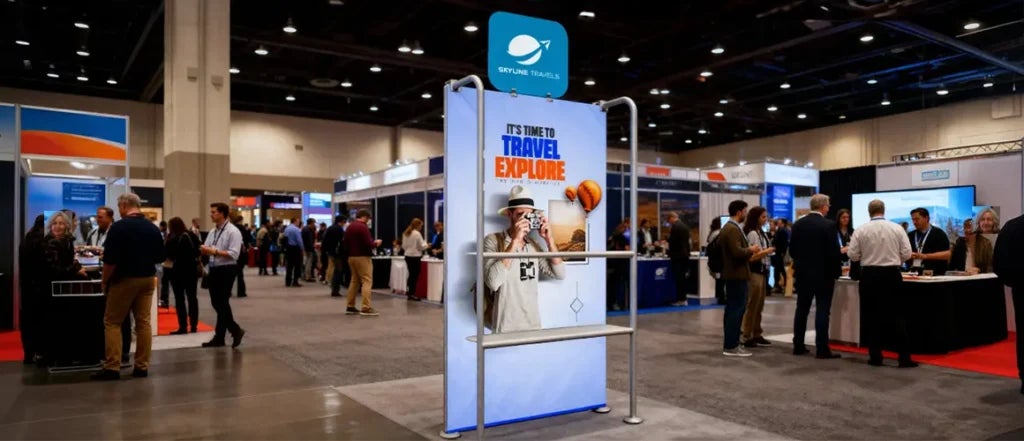
Step 4: Add the Header Panel
Now comes the most visible part: installing the header. Knowing the steps for how to attach a header to a portable display shelf ensures your display looks organized and complete. Most headers connect to the top of the frame with clips, brackets, or a slot system. After attaching it, you can use the space to display your logo, brand name, or short tagline.
It adds a polished, professional touch to your booth that catches attention in a busy hall. Be sure the header is securely attached and perfectly aligned so it remains steady throughout the event.
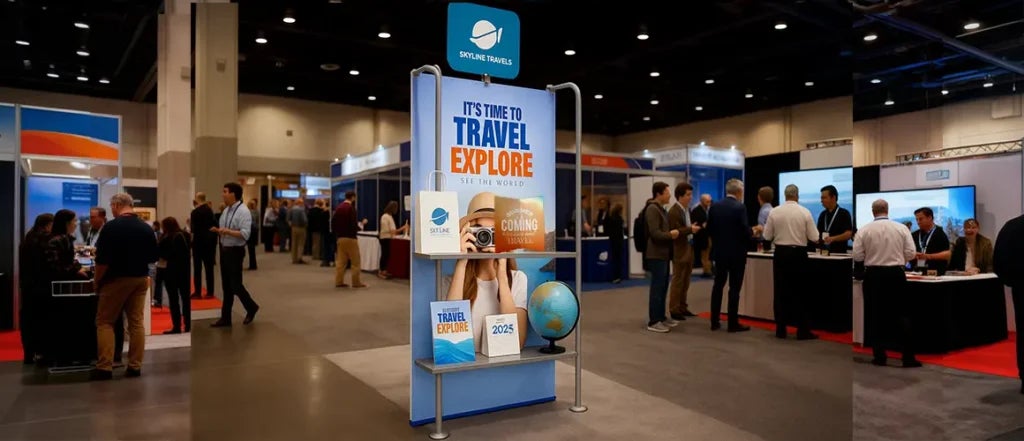
Step 5: Organize Your Display Smartly
Once the frame and header are assembled, start placing your products. For stability, put the heavier items on the bottom and the lighter ones on the upper shelves. Use labels or small signs if you want to highlight certain items. A portable display shelves with head helps you keep your space organized while putting your brand in the spotlight. Before placing any products, give the shelves a good wipe to make your display look clean and professional. A tidy, well-arranged setup can have a surprisingly strong impact.
Step 6: Do It Yourself with Confidence
You don’t need to be a professional installer to set this up. The DIY installation for portable display shelf is simple enough for anyone to handle. After you get used to how the pieces connect, assembly becomes quick and easy. Trying it out at home or at the office beforehand ensures you won’t be learning on the spot at the event.
The goal is to make the setup look effortless and clean. After it’s done, take a few steps back, look at your display, and adjust anything that looks uneven.
Step 7: Try Out Different Display Styles
While the majority of setups rest on the ground, alternative arrangements are possible. When you don’t have much floor space, a hanging display aluminum stand is a smart solution. It’s light, fast to set up, and brings a contemporary touch to your display. Use it to display posters, banners, or smaller products. Ideal for indoor locations like stores, malls, or conference booths. Always follow the safety instructions.
Step 8: Final Checks and Adjustments
Before finishing, make sure everything is secure. Give the structure a gentle shake to test stability, tighten loose screws or connectors, and clean off fingerprints or dust, especially from shiny surfaces. Check that the header is aligned and the shelves are even. These small touches can greatly improve the professional appearance of your booth. Arrange products neatly, leaving some space between them so visitors can view everything comfortably.
Step 9: Packing and Reusing Your Display
Once your event is over, dismantling the display is quick and easy. Start by removing the header, then take off the shelves and disassemble the frame. Pack each part carefully in its carry bag or case. Proper packing helps prevent scratches and makes future setups smoother. Since these shelves are portable and durable, you can reuse them for different events. Labeling the parts or keeping the manual handy is a small step that saves time the next time you set up.
Conclusion
Installing a portable display shelf with a head doesn’t need to be complicated. With a few basic tools and some patience, you can set up a stable and attractive display that showcases your products beautifully. Whether you’re setting up for an exhibition, trade show, or in-store promotion, these shelves make organizing and presenting your materials simple. A clear, well-arranged display not only looks professional but also helps you make a lasting impression on your audience.
Written By BannerBuzz Editorial Team!
 Posted in