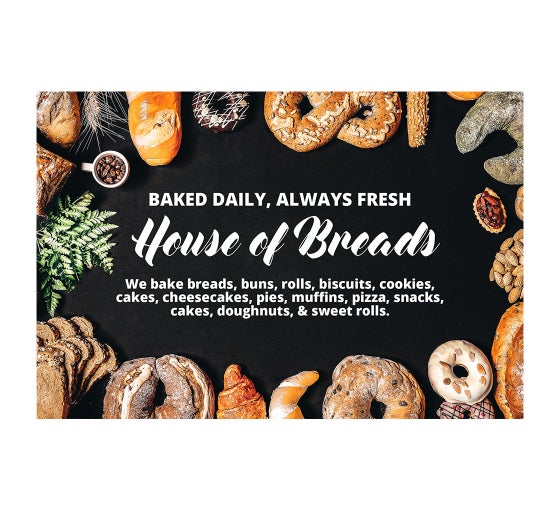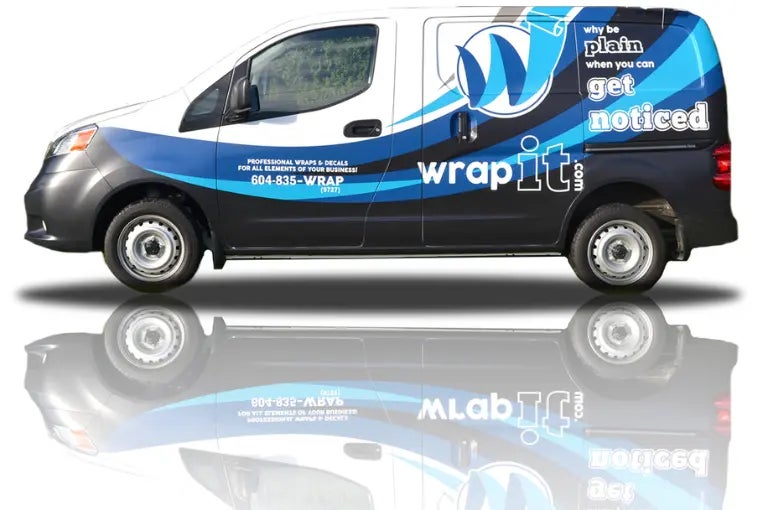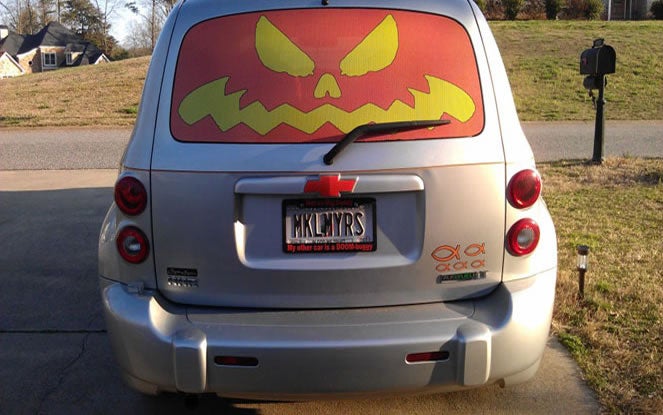


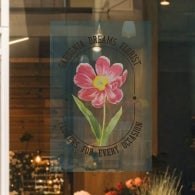
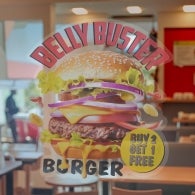
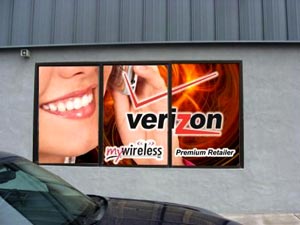
Window decals can prove to be an effective way to grab a customer’s attention. A quick glimpse while driving or steering across the pathway leaves behind lasting impressions of one’s brand. They provide a flexible way to market and help maximizing your advertisement at an efficient price. They many a times are being used on car windows similar to a film while one can market their brand on the go (Do make sure you double check your state laws before you put one sign on). At times this solves the purpose of privacy as people on one side refrain from keeping an eye on the other side and increase their brand value simultaneously. Keep in mind the following thumb rules while designing your own:
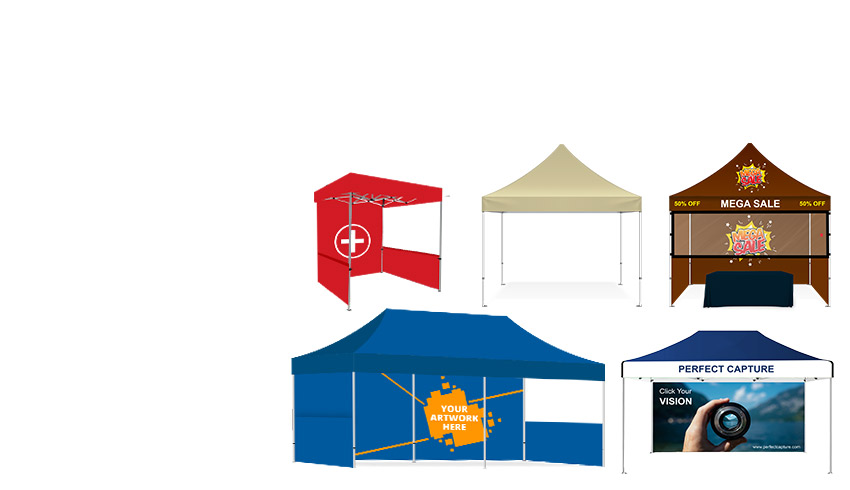
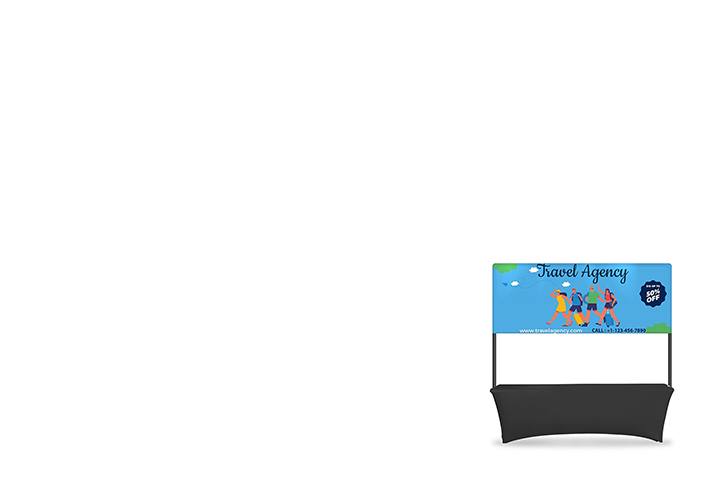
Popular Products


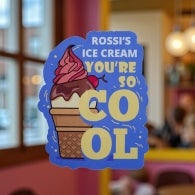


1. Less creates curiosity: Keep it simple and elegant. Less words sometimes instigates the mind to go fetch for more information. Avoid being wordy.
2. Appropriate font size: Based on where you want to keep your window decal, decide a decent font size. Say, you want to keep your sign in a window along the pathway; here the font size shouldn’t be huge since that will distract a viewer. But the font size shouldn’t be as small either that you cant communicate your point across the table.
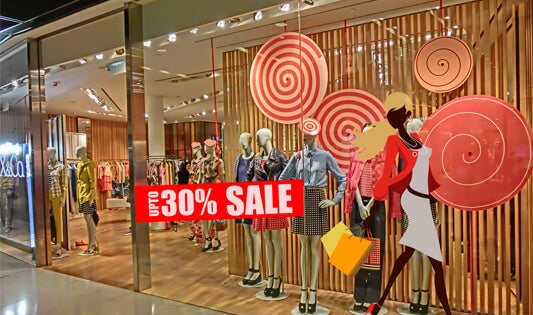
3. Images speak louder than words: Science proves that while on the go, you have no more than 5 seconds to grab a potential customer’s attention before they are distracted by something else. So making sure one can make a huge impact on the customers mind in the given time frame becomes significant. Choose suitable images whereby it creates either a good metaphor or even a good synonym to what you want to communicate because 5 seconds is too less of a time to read a wordy sign and who knows you may even lose a potential customer.
4. Price temptation: Advertise for specials and offers that tempt the customer to look out for your brand.
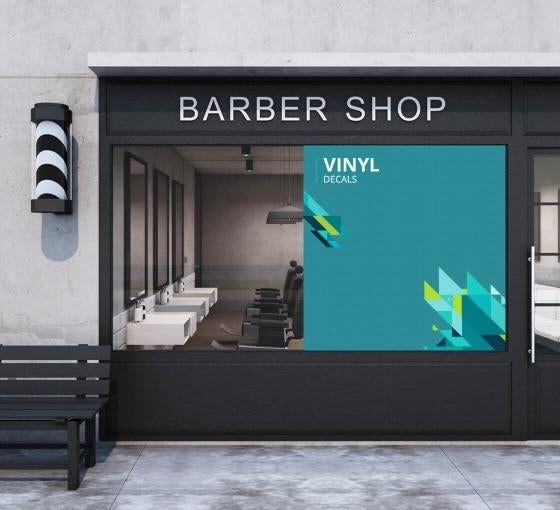
There are varieties of window decals available based on your application and need or they can be custom made to fit in the requirement.
1. Perforated: These sophisticated signs appear black from inside, but allow visibility outside. With specially designed micro punctures on over 30% of the film and 70% to display, your decals achieve a unique one-way appearance that really makes an impact. Since these signs use glue to cling to the window, the intensity of the glue may reduce after a few initial usages.
2. Clear: With custom clear window decals you can still have the light in yet add that beautiful graphic to any window without blocking the view. Printed on clear, semi-permanent vinyl, our clear window decals are great for retail or office applications. Display store hours or advertise promotions without obstructing light or visibility. They can be used for indoor or outdoor application for home or commercial purposes. One can also choose to have an inside/outside application of clear window sign where the sign can be installed from inside/outside from the window and the graphics are visible outside for the advertising. Similar to perforated signs, they use glue to adhere to the window hence glue may weaken after a few uses. They are very popular in putting up signs for company logos, store hours and so on. The color vibrancy is less as compared to opaque material.
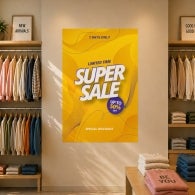
3. Opaque/White vinyl: With the semi-permanent opaque window decals, you can add custom graphics that will last indoor and out, yet are easily removed when you are ready for change. Decals are printed on durable, white adhesive vinyl that will give a very professional look to any retail or office window for either advertising or room décor. They can even be given a die cut for a more personalized design. They are built to last long. But at times with a lot of constant sun exposure the color might fade after a couple years or the glue may start coming out from the sides.
4. Static cling: These could be used for both indoor as well as outdoors application and based on the customer request opaque or clear. The biggest advantage being reusability up to 10-15 times. They create a firm grip onto the glass using static pressure only and do not use any adhesives hence it leaves no marks when one removes it. They can prove to be ideal for short-term promotions. The static inside opaque material has limitation and can be printed to max 2 x 3ft.
5. Frosted: Unlike the rest of the one-sided signs these can be applied on both sides, which increases privacy. As the name suggests the sign comes with a frosted or translucent back and the text or graphic to be printed would be clear giving it a very professional look or vice versa where back is clear and text or graphic is frosted. They are digitally printed at 720dpi to 1440dpi resolution in full color. For sign with more than 5 feet height and width, they get divided to 2 parts for easy installation.
General steps to keep in mind while installing and taking care of your window signs:
- Make sure the window is spotlessly clean before you start installing your sign.
- Place the decals on the window and mark the corners using a washable or non-permanent marker to make sure the spot is rightly put.
- Remove the backing whereby you will now have a glued side, realign to your marks and gradually press decals onto the glass.
- Start from the two diagonally opposite corners or in the middle whichever you may prefer.
- For smaller decals, simply peel off the backing and lightly press the decals onto the window. For larger decals, coat the adhesive side with slightly soapy water (no more than 3 drops of soap). Do not use soapy water to install perforated window decal.
- Work your way out with a rubber-tipped mop to make sure there are no air bubbles on the sign and that also removes excess soapy water if used. The adhesive will work once the surface becomes dry.
- If possible, hand wash your decals with damp clothe, avoiding pressure washers that can cause peeling.
- For clear signs, the white color on the artwork appears clear on the final product.
- When the magnetic or static cling sign is not in use, roll it back the same way in which it arrived to preserve its properties.
- To remove, gently peel from the top down, and then remove any leftover adhesive with soapy water or adhesive remover and a razor blade.